English
 中文
中文 한국어
한국어 日本語
日本語
Keep the tip clean
Wipe the tip with a tissue after each use. Built-up oils from balm or lipstick can change how evenly the stain lays down.

If your lip line fades by lunch, bleeds into fine lines, or turns uneven when you smile—this guide is for you. You’ll learn a simple, repeatable method to use The Pagevine Waterproof Lip Stain Liner to outline thin lips, full lips, and asymmetrical lips with more control and less stress. Along the way, you’ll get sensitivty-friendly prep, 8 natural-shade pairing ideas, and the removal + storage habits that keep a liner performing like new.
Quick reality check (so you don’t blame yourself): Most lip liner “smudging” comes from one of three things—oil-based skincare on the lip line, dehydrated texture that cracks, or a soft formula that migrates. A waterproof, transfer-resistant stain liner helps because it sets down like a tint.
You don’t need a complicated ritual—you just need the right order. Your goal is to create a smooth, lightly hydrated surface so the line stays crisp for up to 12 hours instead of breaking apart around the corners.
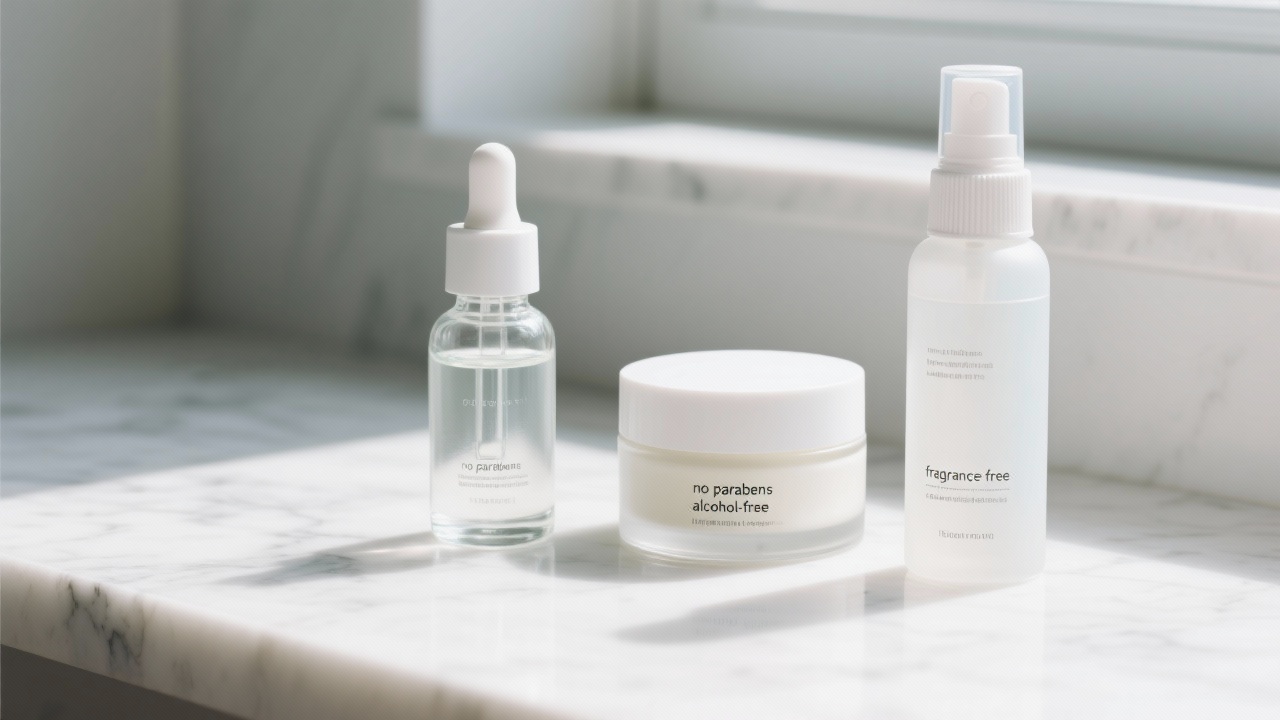
Press a tissue around the border of your lips. If you applied heavy balm or facial oil, lightly swipe micellar water and let it dry. Oil is the #1 reason waterproof products can’t fully set.
Tap a thin layer of fragrance-free balm onto the center of your lips only (avoid the border). Wait 30 seconds, then blot once. This keeps comfort without creating a slippery outline.
If your lipstick often feathers, lightly tap a translucent powder just outside the lip line (not on the lips). Makeup artists use this to reduce “edge migration,” especially in humid weather.
Interactive check-in: Which lip shape is closest to yours?
A) Thin lips B) Full lips C) Asymmetrical D) Soft Cupid’s bow / less defined edge
No shape is “hard”—you just need a technique that matches how your lip border behaves. With a stain-style liner like The Pagevine, think of your strokes as small connected anchors, not one long continuous line.
Pro control tip: Keep your mouth relaxed and slightly open. Stretching your lips tight can make the edge look perfect… until you talk, and the line “snaps” unevenly.
Thin lips look best with a subtle lift—not a dramatic outline. The trick is to follow your natural corners and add volume only where light naturally hits.
Avoid this: Overlining the corners. It tends to read as “drawn-on” and can crack first when you eat or smile.
Full lips don’t need extra size—they need structure. Your goal is a defined outline that won’t travel, especially near the corners.
Why waterproof stain liners help here: transfer-resistant pigments typically set faster and move less than creamy pencils, so the outline stays crisp even in warm climates.
You don’t need perfect symmetry—your face moves. What you want is balance at conversational distance. In practice, that’s usually correcting one area, not drawing a whole new mouth.
Confidence trick: After lining, look straight ahead (not zoomed-in). If it reads balanced from ~1 meter away, you’re done.
If your lips get irritated easily, long-wear products can feel intimidating. The good news: you can still enjoy a 12-hour waterproof, transfer-resistant finish when you treat comfort as part of the application—not an afterthought.
If your lips are actively cracked, prioritize repair for 48–72 hours first. Long-wear pigment can cling to dry texture and look patchy (even with the best liner).
Natural shades are underrated: they make lips look polished in daylight, and they’re forgiving when you reapply lipstick later. Below are eight wearable families and where they shine.
| Shade Family | Best For | Pairs Well With | Finish Tip |
|---|---|---|---|
| Pink Nude | Date nights, “fresh face” makeup | Pink balm or sheer lipstick | Add gloss only at center |
| Rosy Beige | Everyday errands, casual photos | Neutral lipstick tones | Feather inward for soft blur |
| Mauve | Office, presentations, interviews | Cool-toned nudes | Outline + light fill for longevity |
| Dusty Rose | Meetings to dinner transitions | Cream lipstick, satin tints | Keep corners precise |
| Soft Berry | Events, evening looks | Berry stain or sheer plum | Let the liner set 30 sec first |
| Terracotta Nude | Warm-toned outfits, fall makeup | Peachy lipstick, bronzy looks | Blend with fingertip for warmth |
| Cocoa Brown | Defined lip contour, camera-ready | Nude lipstick 1–2 shades lighter | Keep line thin for natural finish |
| Neutral Taupe | Minimal makeup, “no-makeup” look | Clear balm or nude tint | Focus on crisp cupid’s bow |
Shade note: for a naturally lifted look, your liner usually works best close to your natural lip tone or up to one shade deeper. Going too deep can make the outline stand out more than you want in daylight.
Long-wear doesn’t have to mean hard-to-remove. You just need time + the right remover type.
If you’re prone to sensitivity, avoid exfoliating acids on the lips right before using a stain liner. Keep it simple and soothing.
Small habits can noticeably improve application quality—especially with waterproof formulas designed to set quickly.
Wipe the tip with a tissue after each use. Built-up oils from balm or lipstick can change how evenly the stain lays down.
Quick-setting, long-wear formulas can dry faster if exposed to air. A tight cap helps maintain smooth flow and consistent color payoff.
Store at room temperature. Heat can alter texture and make wear less predictable—especially if you keep makeup in a car or near a window.
If you want a liner that feels comfortable yet holds up through daily life, explore The Pagevine Vegan Waterproof Lip Stain Liner—made to be waterproof, transfer-resistant up to 12 hours, and sensitive-skin friendly when used with the gentle prep steps above.
Shop The Pagevine Waterproof Lip Stain Liner (Vegan & Long-Wear)Try one shade close to your natural lip tone first—you’ll get the most “effortless” payoff with the least learning curve.
 아이섀도우 판매
메이크업 튜토리얼
디지털 마케팅 전략
프라이빗 브랜드 OEM 아이섀도우
해외 시장 홍보
아로마테라피 오일
모든 자연
가지고 다닐 수 있는
천연 각질 제거
민감성 피부 스크럽
식물 활성 성분
바디 스크럽 효과
카페인 피부 보호
민감성 피부 각질 제거
부드러운 바디 스크럽
천연 미백 각질 제거
피부 장벽 보호
국제 인증 스킨케어
베트남 아가우드
명상 향 스틱
홈 아로마테라피
사무실 아로마테라피
천연 아로마테라피
아가우드 향 스틱
아가우드 향
요가 향
아이섀도우 판매
메이크업 튜토리얼
디지털 마케팅 전략
프라이빗 브랜드 OEM 아이섀도우
해외 시장 홍보
아로마테라피 오일
모든 자연
가지고 다닐 수 있는
천연 각질 제거
민감성 피부 스크럽
식물 활성 성분
바디 스크럽 효과
카페인 피부 보호
민감성 피부 각질 제거
부드러운 바디 스크럽
천연 미백 각질 제거
피부 장벽 보호
국제 인증 스킨케어
베트남 아가우드
명상 향 스틱
홈 아로마테라피
사무실 아로마테라피
천연 아로마테라피
아가우드 향 스틱
아가우드 향
요가 향